
Add a Drawstring to Reversible Bucket Hat
I love to make reversible bucket hats for the little people in my life. This adorable hat is a pattern from Oliver + S that you can make in less than a day. I usually choose a fancy or crazy print for one side and a plainer print for the other side to give the kiddos a fashion choice. We are a boating family, so for us these are sailing hats and of course they need straps so they won't blow away in the wind. This tutorial shows how I add a drawstring that works really well with the basic reversible hat.
Make the Reversible Bucket Hat
First make a cute hat! The Oliver + S Reversible Bucket Hat pattern is well written and easy to follow. I followed the pattern instructions as written, except I didn't have any sew-in interfacing so I used fusible interfacing. If you haven't worked with any of the awesome Oliver + S patterns this is definitely a good one to start with. Safety Note: This type of drawstring is not safe for infants but it works great for toddlers and older children.
Project Supply List
- Oliver + S Reversible Bucket Hat (1)
- Dritz Large Eyelets, 1/4" size (2)
- Dritz Eyelet Tool, for 1/4" eyelets
- Hammer and a hammer safe surface
- Dritz Cord Stops (2)
- Drawstring Cord, 1/4" wide and 42" long
- Pen and Small Scissors

Eyelet Instructions
- The eyelet pliers tool will not work on this project because the eyelets are too far away from the edge. Use the eyelet anvil tool instead.
- Mark the position of eyelet by tracing inside of eyelet near each side seam.
- Carefully cut the hole with small scissors.
- Insert eyelet top (deep half) into hole from the under side.
- On top side, place shallow half of eyelet over center of eyelet top.
- On the under side, position eyelet top on the anvil.
- On the top side, insert tool into eyelet center and hammer gently. Center of eyelet will split to secure eyelet.

Drawstring Instructions
- You can either buy 1/4" drawstring cord or make 1/4" bias tape like I did.
- Cut the drawstring cord 42" long.
- Fold the cord in half and insert the folded end through a cord stop. I find it helpful to use sewing tweezers, a stiletto, or something else thin and stiff to help push the cord through the cord stop.
- Tie a single knot in the folded end of the cord to keep it from pulling back through the cord stop.
- On the top side of the hat, thread the cut ends of the cord through the eyelets.
- Insert both cut ends of the cord through a cord stop.
- Tie a single knot in the cut ends to keep them from pulling back through the cord stop.
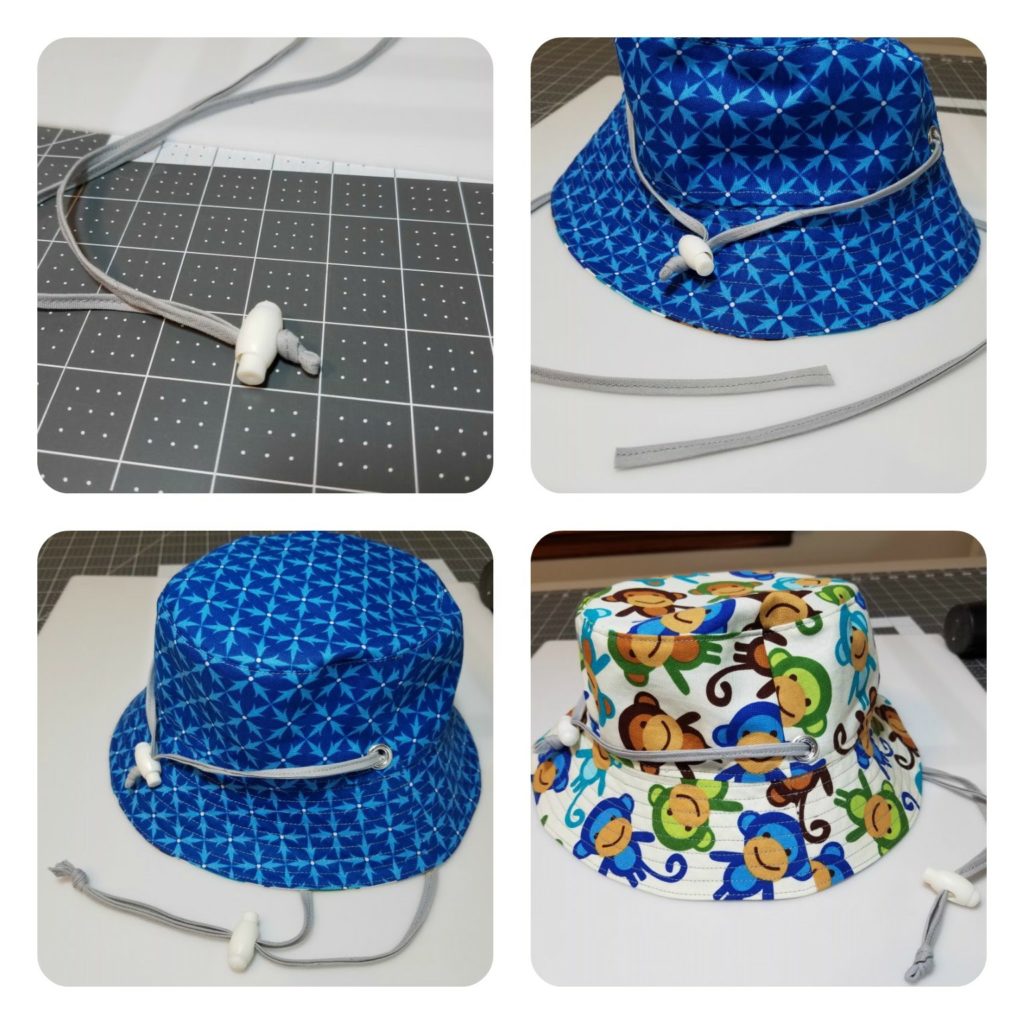
Done!
You have added a practical drawstring to use with both sides of the reversible bucket hat. A gift that little kiddos and their parents will appreciate!
![]()